Desktop-first layouts
Use the wide Mac family so window chrome and dense workflows remain legible.

Device workflow
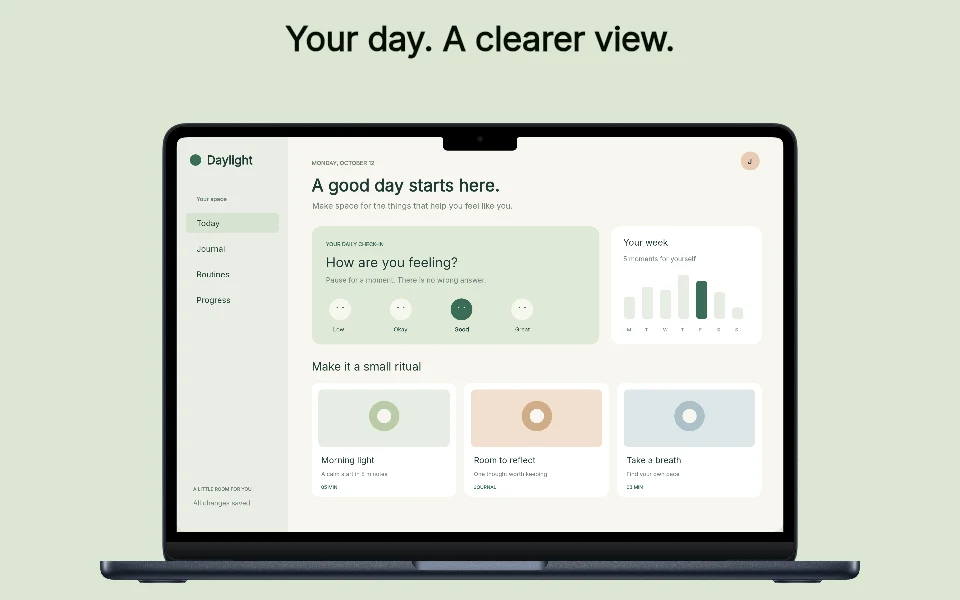
Mac screenshots need hierarchy across a wide window. Upload the real desktop capture, choose a layout that gives it space and edit the supporting story without flattening the result.
Free during early access · No card required
Practical walkthrough
A desktop capture contains more detail than viewers can read in a store thumbnail. Use the headline to name the outcome and the interface to show how the app delivers it.
Open a representative document or workspace. Close personal dialogs and move the pointer away from content you want people to inspect.
A MacBook display and the final Mac App Store artwork can have different ratios. Keep the source interface undistorted inside its device frame.
If a small control needs explanation, give it a dedicated screenshot or crop. Do not force the opening image to explain every part of the desktop.
Use the wide Mac family so window chrome and dense workflows remain legible.
Place captions and artwork around the actual product instead of covering important controls.
Review the native 2560 × 1600 canvas and inspect every panel before download.
Desktop products often need more context than one mobile card. A wide composition lets you show the main workspace while a short caption names the result.
When the interface changes, replace the capture and update the copy in the same editable project.
Questions
No. Start with your real app screenshots, choose a composition, then change copy, colors, device frames and artwork in the browser editor.
Yes. Upload the original PNG or JPEG captures. Your screenshots replace the illustrative content in a template while the layout stays editable.
Yes. Connect a compatible MCP client after sign in. Your agent can create projects, edit scenes, preview results and export them. Attachment uploads require a client that can provide a supported file reference.
Start with a composition. Keep every detail editable.